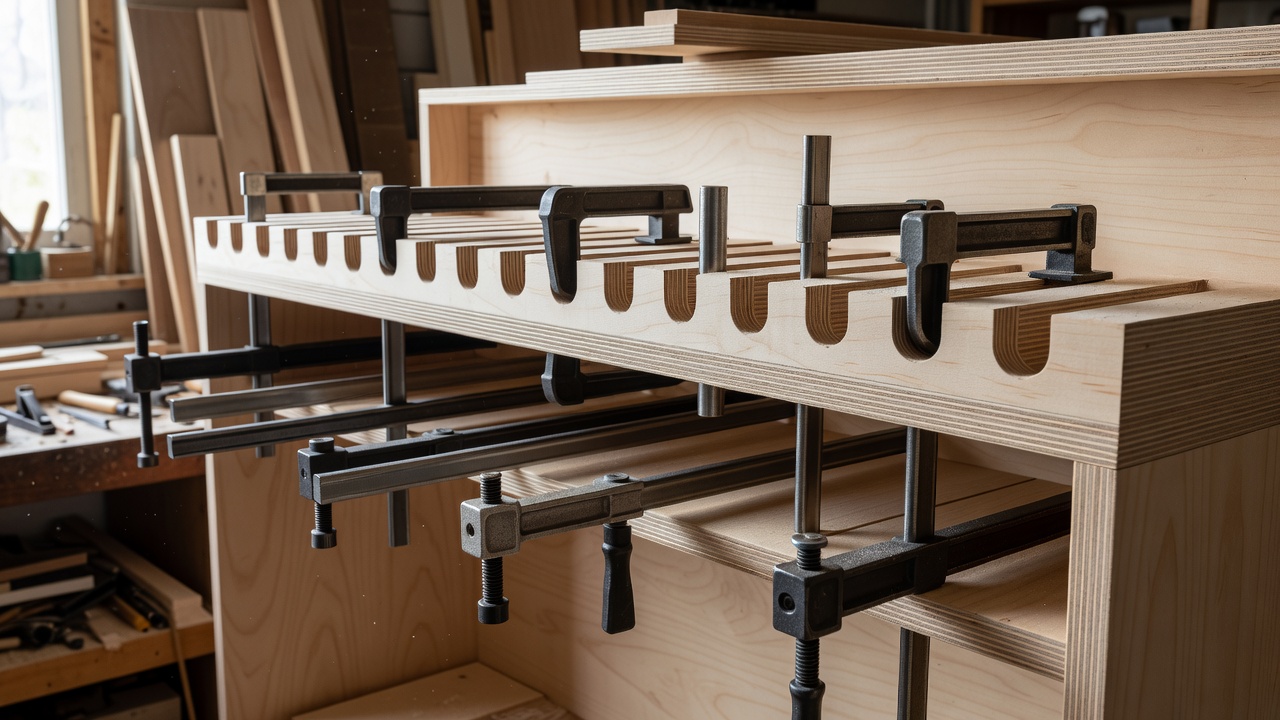
Start with the clamps, not the slots
Gather the clamps you reach for most often. Put the longest, heaviest ones aside for separate low storage: this little rack is intended for a modest group of smaller bar clamps. Lay each clamp on cardboard and note the width of its bar, the shape beneath the fixed head and the clearance your fingers need. A slot that clears the bar but cannot retain the head is not a usable slot.
Choose flat 18 mm plywood without loose veneers, softened edges or voids at the proposed joints. Solid timber can split around narrow slot webs, so it is not an automatic substitute. Remove old screws and nails, inspect both faces and trim damaged ends before marking any finished length. If the plywood bends under hand pressure or crumbles around a pilot hole, save it for a non-load-bearing purpose.
Cut list: one back, two shelves
| Part | Qty | Size | Use |
|---|---|---|---|
| Backboard | 1 | 600 × 180 | Horizontal wall plate |
| Shelf | 2 | 180 × 120 | Slotted clamp supports |
| Bracket blank | 2 | 120 × 120 | Cut diagonally for four braces |
The shelves sit side by side along the backboard, not one above the other. Leave a central gap and space at both ends for accessible wall fixings. Each shelf gets a triangular brace beneath each side. Draw the complete arrangement on the backboard first; fixing heads must remain reachable after assembly.
Build sequence
Cut and test one opening
Square the backboard, then cut the shelves and brace blanks. Clamp each blank on a supported surface. Split each brace blank diagonally using a method appropriate to your saw; do not hold a small triangle near a moving blade. A handsaw and bench clamp are often the calmer choice.
Make a trial slot in waste plywood. Allow modest clearance around the clamp bar while retaining generous bearing beneath its head. Drill the rounded end first, then saw from the front edge to the hole. Keep at least 25 mm of intact material between slots and away from shelf sides; if your clamp geometry needs wider openings, reduce the number of slots.
Brace every shelf
Sand slot edges smooth enough that they cannot scrape a bar or snag a finger. Dry-fit the braces below the shelf, flush to its rear edge. Use wood glue appropriate to the material and countersunk wood screws through the shelf into the brace edges, then through the backboard into shelf and brace edges. Predrill for the selected screw; plywood edges can split.
Around 4 × 40 mm screws may suit this geometry, but confirm pilot size, edge distance and penetration against the actual parts. Never let points emerge through a face. Clamp the assembly square and follow the glue manufacturer’s curing time before mounting or loading.
Fix to a known support
Choose wall fixings for the substrate and expected load, following their manufacturer’s instructions. Locate timber studs or sound masonry; plasterboard alone is not a default support. Check for hidden wiring and pipes before drilling. Ask a qualified installer if you cannot identify the wall.
Mount the rack low enough to lift clamps without reaching above your head. Add one light clamp at a time while watching for shelf movement, joint opening or wall-fixing movement. Stop and unload if anything shifts. This gradual check is not a load certification, and the finished rack has no published kilogram rating.
Keep the arrangement easy to inspect
Do not hide the backboard behind a dense curtain of clamps. Leave enough air around each head to lift it straight up and forward. Keep long bars clear of sockets and walkways, and never place the rack where a dropped clamp could strike someone seated below it. Review the joints after the first few uses and whenever humidity or storage needs change.
Can I make it longer?
Add independently supported shelf modules rather than stretching one shelf across a long span. A longer backboard also needs a fixing layout suited to its wall. Do not assume the original arrangement scales proportionally.
What if my scraps are only 12 mm thick?
Save them for drawer dividers or light tool outlines. This rack is based on 18 mm stock; thinner shelves and joints need a new design rather than the same screws in smaller material.
Next, give measuring and marking tools their own place with the modular tool wall.