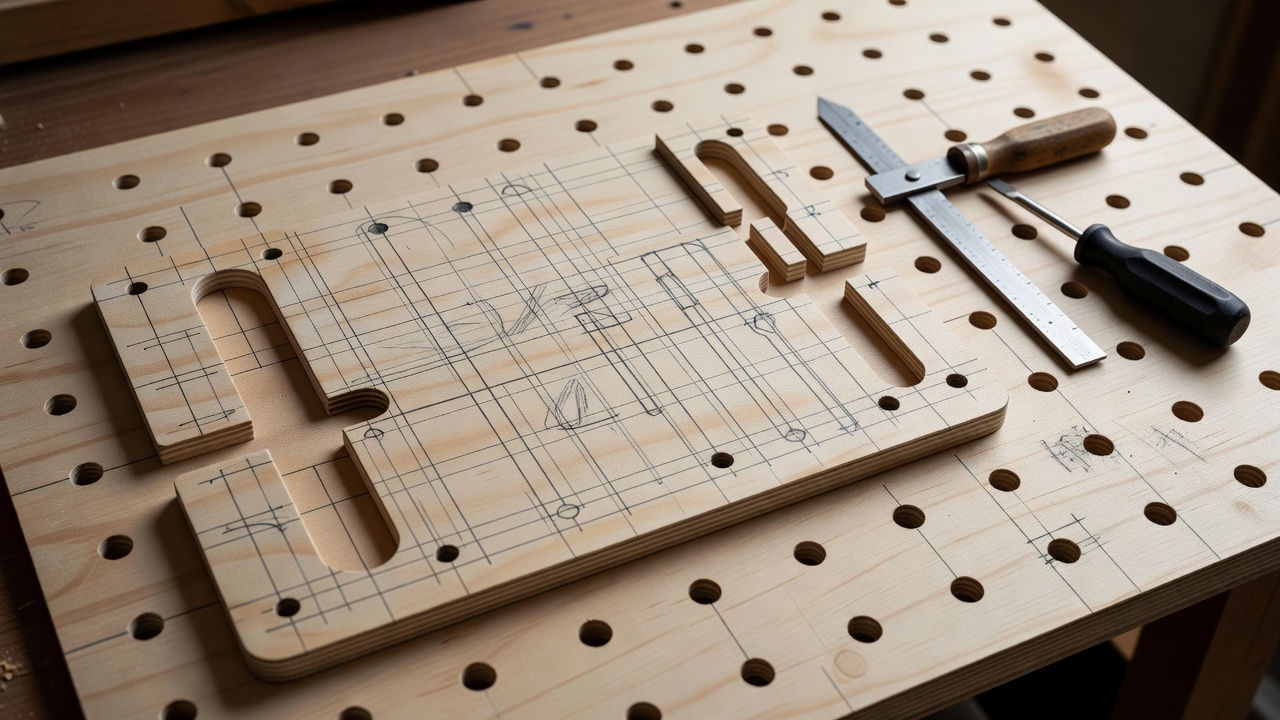
Map the reach before the wall
Clear a 600 mm square on your bench and arrange the tools you genuinely use. Keep the tape, square and marking tools within a comfortable reach. Leave a clear lift-out route above every handle: a tool that fits its outline may still be trapped by the holder above it. Start with fewer holders than the panel could accommodate. Empty space is useful when your kit changes.
This is a screw-fixed modular system, not a French-cleat wall. It avoids making long bevel cuts from questionable scraps, and each holder is positively attached. Moving a holder leaves small holes, which is an acceptable trade for a simple first build. Do not keep reusing stripped holes. Move the fixing to fresh material or replace the affected part.
Cut list: the panel and starter holders
| Part | Qty | Size | Material |
|---|---|---|---|
| Wall panel | 1 | 600 × 600 × 18 | Sound plywood |
| Rear batten | 2 | 600 × 45 × 20 | Straight solid wood |
| Holder back | 2 | 180 × 100 × 18 | Plywood |
| Screwdriver ledge | 1 | 180 × 60 × 18 | Plywood |
| Ledge brace blank | 1 | 60 × 60 × 18 | Cut into two triangles |
| Square retaining strip | 1 | 140 × 20 × 18 | Trim to actual tool |
The panel has two horizontal battens behind it, one near the top and one near the bottom. They provide clearance behind holder screws and help keep the panel flat. Wall fixings pass through the panel and battens into the chosen structural support. The battens do not turn a weak wall into a strong one.
Build sequence
Prepare square, clean edges
Check the panel for twist before cutting. Mark one reference edge, square the adjacent edge and measure the remaining sides from those references. Cut the battens and holder parts slightly oversize if their ends need cleaning up, then bring them to their finished lengths. Account for each saw kerf rather than dividing a board into imaginary zero-width cuts.
Mark screwdriver holes from the actual shanks and handles. Drill a test hole in scrap first. Keep the holes far enough apart for handles and fingers, and leave material between every hole and the ledge edge. Clamp a sacrificial board underneath to reduce breakout. Never hold a small drilling blank in your hand.
Make independent holders
Fit the screwdriver ledge to one holder back, with the two triangular braces beneath it. Predrill and countersink the connections, apply suitable wood glue to the holder joints and clamp them square while curing. Keep glue off the removable interface between the holder back and the main wall panel.
Make the second holder for your square. Position the retaining strip to support its stock while allowing the blade to lift out without bending. The 140 mm length is a starting blank, not a promise that every square fits. Round sharp corners, then test the holder flat on the bench before lifting it upright.
Fasten without hidden points
Fix the rear battens to the panel and check all screw lengths against actual thicknesses. For an 18 mm holder back over an 18 mm panel, a screw around 30 mm long may be suitable, but countersinking reduces the effective cover. Verify that no point projects into the rear clearance and no fixing can contact concealed services.
Mount the panel using hardware specified for the wall substrate and load. Locate structural timber or suitable masonry, check for pipes and cables and follow anchor instructions. Add holders with at least two appropriately spaced screws each so they cannot rotate. Load gradually, then remove any holder that rocks or opens at a joint.
Keep cutting edges enclosed
Do not turn the screwdriver ledge into an exposed chisel rack. Sharp tools need purpose-made holders that retain the handle and guard the edge, with sufficient clearance to avoid reaching across a blade. Keep manufacturer-supplied edge guards where available. Saws need secure hanging points and protected teeth, not a loosely balanced nail.
Place only light hand tools on this starter panel. A power-tool battery shelf or a heavy plane till needs its own support design and fixing assessment. Tool silhouettes can help you notice missing items, but they do not secure them. Add a label or pencil outline only after the position has worked for several sessions.
Can I add French cleats later?
Yes, as a separate design exercise. Cleat angle, thickness, fastening, holder retention and wall support all need to work together. Do not simply screw a narrow bevelled offcut onto this panel and assume it is rated for heavy equipment.
Review after rearranging
Each change deserves a fresh check. Lift every tool out and return it while standing normally at the bench. Check the wall fixings, inspect plywood around old screw holes and make sure nothing projects into a walkway. A useful wall is one that stays legible and easy to inspect, not one filled to its last square centimetre.
Need to move the work surface too? Continue with the portable worktop plan.